Mastering the Four Count Pistol Draw: A Step-by-Step Guide for Improved Speed and Accuracy
The four-count pistol draw is a fundamental skill for anyone serious about self-defense, competitive shooting, or general firearm proficiency. Mastering this draw not only enhances your speed but also ensures accuracy under pressure. In this guide, we will break down the four-count pistol draw, explaining each stage in detail while integrating essential tips to help you improve your technique.
What is the Four-Count Pistol Draw?
The four-count pistol draw refers to a systematic method of drawing your handgun from the holster. It divides the process into four distinct stages, each crucial for optimizing both speed and control. By practicing the four-count draw, you reduce unnecessary movements, increasing your chances of fast and accurate target engagement.
Why Focus on the Four-Count Pistol Draw?
Whether you’re a beginner or an experienced shooter, the four-count draw is essential for several reasons:
• Consistency: Breaking down the draw into steps allows for consistency in training and performance.
• Accuracy: Focusing on form and control ensures you maintain accuracy, even under stress.
• Speed: A consistent draw leads to faster engagement without sacrificing precision.
Step-by-Step Breakdown of the Four-Count Draw
Count 1: Establishing a Secure Grip
The first step is to establish a firm, high grip on your firearm while it’s still in the holster. Ensure your trigger finger is straight and indexed along the holster or frame to avoid accidental discharge. A proper grip is essential for maintaining control throughout the entire draw.
Key Tip: Practice gripping your firearm without looking at it, ensuring muscle memory builds up over time.
Count 2: Drawing the Firearm Up and Out
In this stage, pull the gun straight up from the holster while keeping your wrist locked and elbow tight to your body. Your trigger finger should remain straight and off the trigger during this phase. As the gun is drawn up the gun should be transitioning down range by bending at the elbow but keeping the firearm close the mid axillary line of the body. The goal here is to clear the holster efficiently and prepare for the next step. At the end of count 2 the gun should be pointed down range close to the armpit while the arm is still tight to the body. The firearm should be canted slightly away from the body at the wrist to ensure if engaging from this position, the slide does not strike or cut your body.
NOTE: the support side hand should be flat against your chest ensuring that it is not in the line of fire of the gun pointing down range from the peak of this position.
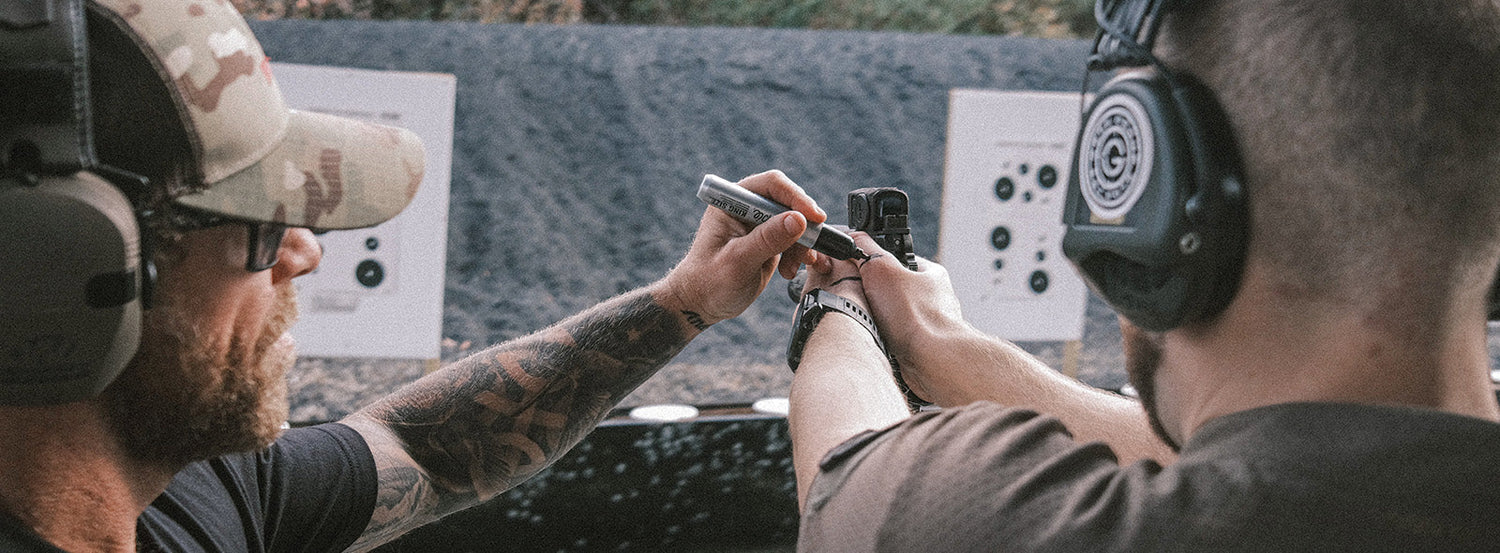
You can practice on our 12" Bulls Eye Target to ensure precision.
Count 3: Rotate Toward the Target
Once your firearm clears the holster and is high in the armpit pointing down range, you will begin to bring the gun to the center of your chest to marry with the support hand, using the nipple line as a guide. Both hands will meet at the center of the chest completing a proper grip. Your support hand should have moved into position to meet your firing hand as you prepare to push out toward the target. The firearm should be as level as possible pointing down range.
Key Tip: Visualize this step as a smooth transition to minimize time spent between clearing the holster and aiming.
Count 4: Extend and Engage
The final step is to extend your arms toward the target while bringing your firearm up to eye level. Ensuring to maintain a level presentation of the gun while extending, this minimizes corrections needed for sight alignment at full presentation. During this movement, your finger moves to the trigger and is prepared or actively pressing to remove travel from the trigger as you acquire a full sight picture at the end of the presentation. If you decide to actively remove travel from the trigger during the movement, the trigger should be breaking and discharging the firearm by the end of the presentation and after sights are acquired.
Practice Tips for the Four-Count Draw
1. Dry Fire Practice: Engage in regular dry fire practice sessions to build muscle memory without live ammunition. This allows you to focus on technique without the distraction of recoil.
2. Slow is Smooth, Smooth is Fast: When practicing, focus on slow, deliberate movements. Over time, as your muscle memory develops, your speed will naturally increase without sacrificing accuracy.
3. Use a Timer: To improve your speed, incorporate a shot timer into your training. This will help you track progress and set measurable goals for reducing your draw time.
4. Live Fire Rehearsals: Once you are comfortable with dry fire drills, incorporate live fire sessions to experience the effects of recoil and adrenaline. Always focus on safety and maintaining accuracy throughout the process.
Common Mistakes to Avoid
• Trigger Discipline: One of the most critical safety components is keeping your finger off the trigger until you are fully on target and ready to shoot. Neglecting trigger discipline can lead to dangerous misfires.
• Improper Grip: Failing to establish a strong grip in Count 1 will negatively affect your control and accuracy throughout the draw and firing sequence.
• Rushing the Process: While speed is a goal, rushing can lead to sloppy technique and missed targets. Prioritize form first, and speed will follow.
Final Thoughts
Mastering the four-count pistol draw requires consistent practice, but the benefits are well worth the effort. With the right balance of speed, accuracy, and safety, you can improve your performance in self-defense scenarios or competitive shooting environments. By breaking the draw down into its core components, you build a strong foundation for further tactical development.
Remember, the key to success is repetition. Incorporate these drills into your training routine, and soon, the four-count draw will become second nature.


Leave a comment
This site is protected by hCaptcha and the hCaptcha Privacy Policy and Terms of Service apply.